Fluffy Cloud Cake Recipe – Light, Airy & Perfect for Any Occasion
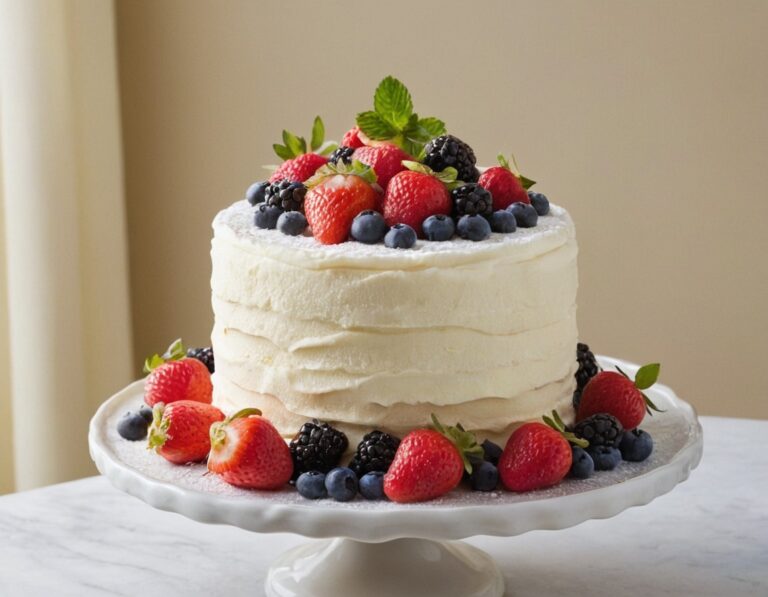
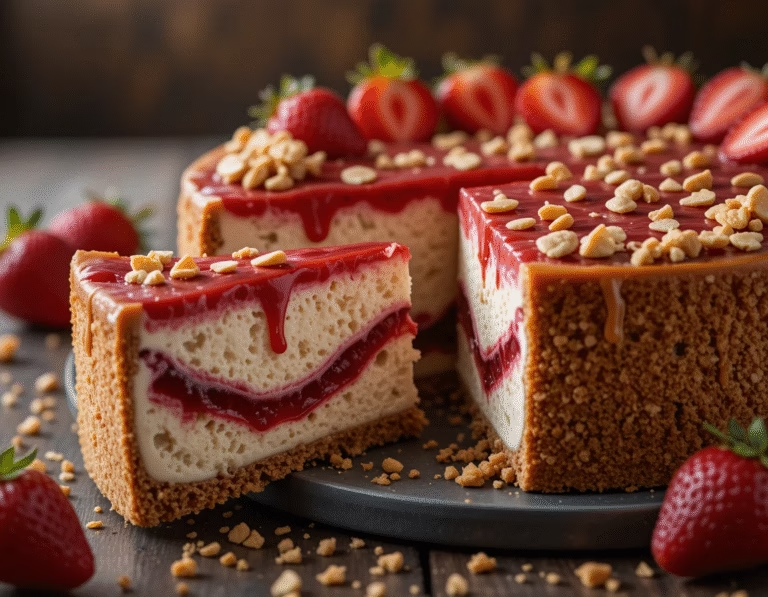
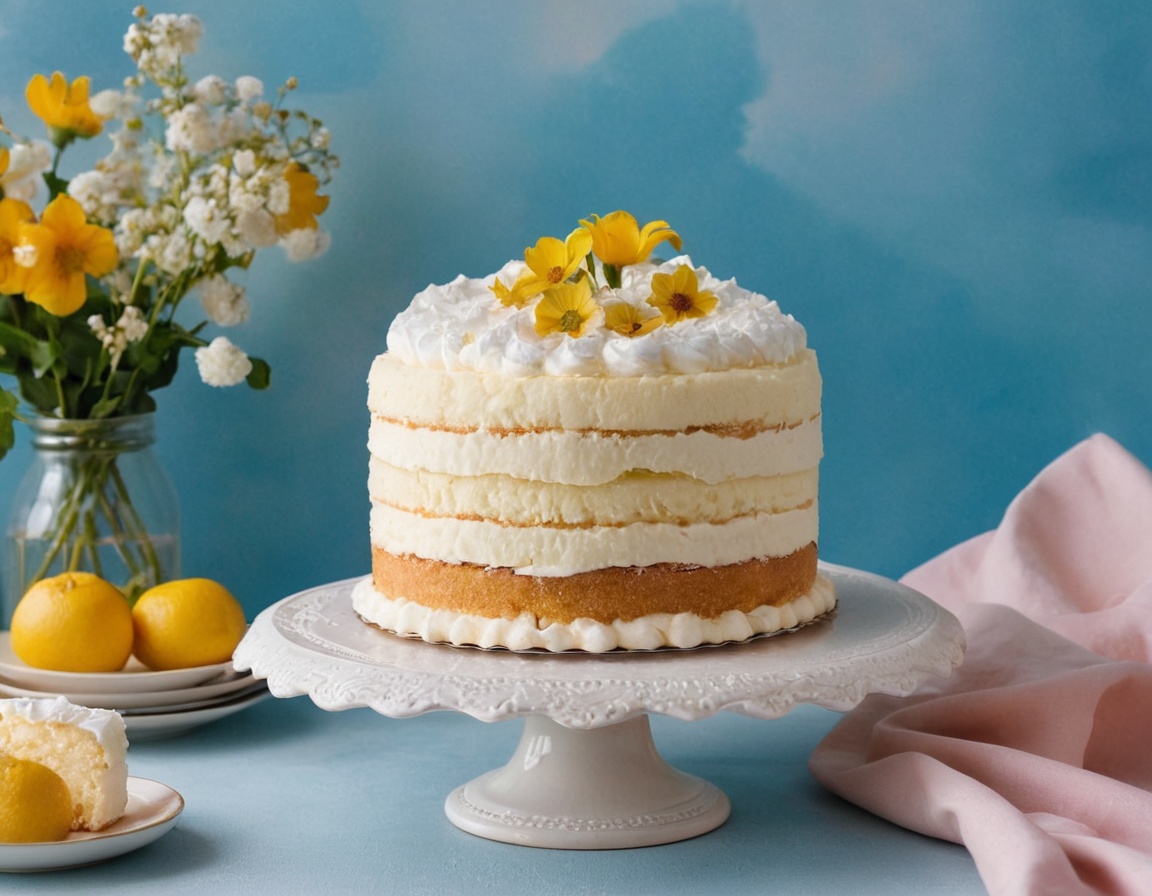
Cloud Cake Recipe If you’re in the mood for a dessert that’s lighter than air, delicately sweet, and visually stunning, then the cloud cake is your dream come true. This ethereal creation is named for its soft, fluffy texture and pillowy appearance—making it the perfect centerpiece for birthdays, brunches, baby showers, or simply an elegant weekend treat. Cloud cake is more than just a pretty dessert; it’s a heavenly experience for the senses. With its airy sponge, whipped cream layers, and cloud-like appearance, this cake is a celebration of simplicity and elegance.
Unlike dense and overly rich cakes, the cloud cake is known for its light-as-air crumb that melts in your mouth. It often relies on whipped egg whites, gentle folding techniques, and minimal flour to achieve a soft, weightless texture. The result is a dessert that’s refreshingly different from traditional cakes yet just as satisfying. In many ways, it bridges the gap between a sponge cake and a soufflé, making it ideal for anyone who enjoys light desserts that don’t feel too heavy after a meal.
A cloud cake is also incredibly versatile. You can dress it up with fresh fruit, citrus zest, or flavored whipped cream to complement seasonal themes or personal preferences. Whether you’re going for a classic vanilla version or want to experiment with lemon, matcha, or berry flavors, the possibilities are endless. What’s more, cloud cakes are naturally lower in fat compared to traditional layer cakes, making them a popular choice for those looking for a “lighter” dessert option without sacrificing flavor.
This blog post will walk you through everything you need to know to make your own cloud cake from scratch. From the essential ingredients and step-by-step instructions to storage tips, common mistakes, and fun variations, we’ll guide you through the process so you can bake with confidence. Whether you’re a seasoned baker or just getting started, this guide is designed to be approachable and informative.
So, roll up your sleeves and prepare to float into a world of soft textures and delicate flavors. Making a cloud cake at home is easier than you think, and the reward is a dessert that’s as beautiful as it is delicious.
What You’ll Need for Cloud Cake Recipe
Creating a cloud cake requires a short but purposeful list of ingredients and tools. Each item plays a crucial role in achieving the signature lightness and delicate flavor that defines this cake. Let’s break down what you’ll need so you can gather your supplies with confidence before you start baking.
Ingredients
- 5 large egg whites (room temperature): The foundation for the cake’s airy texture. Room temperature whites whip up with more volume.
- ½ cup granulated sugar: Provides sweetness and structure. It also helps stabilize the whipped egg whites.
- ¼ teaspoon cream of tartar: Helps stabilize the egg whites and prevents over-whipping.
- 1 teaspoon pure vanilla extract: Adds a subtle depth of flavor.
- ⅓ cup all-purpose flour: Used sparingly, flour adds just enough structure to keep the cake together without weighing it down.
- ¼ teaspoon salt: Enhances the flavor and balances the sweetness.
- 1 cup heavy whipping cream (for topping): Whipped and lightly sweetened, this forms the “cloud” layer on top.
- 2 tablespoons powdered sugar: To sweeten the whipped cream without adding graininess.
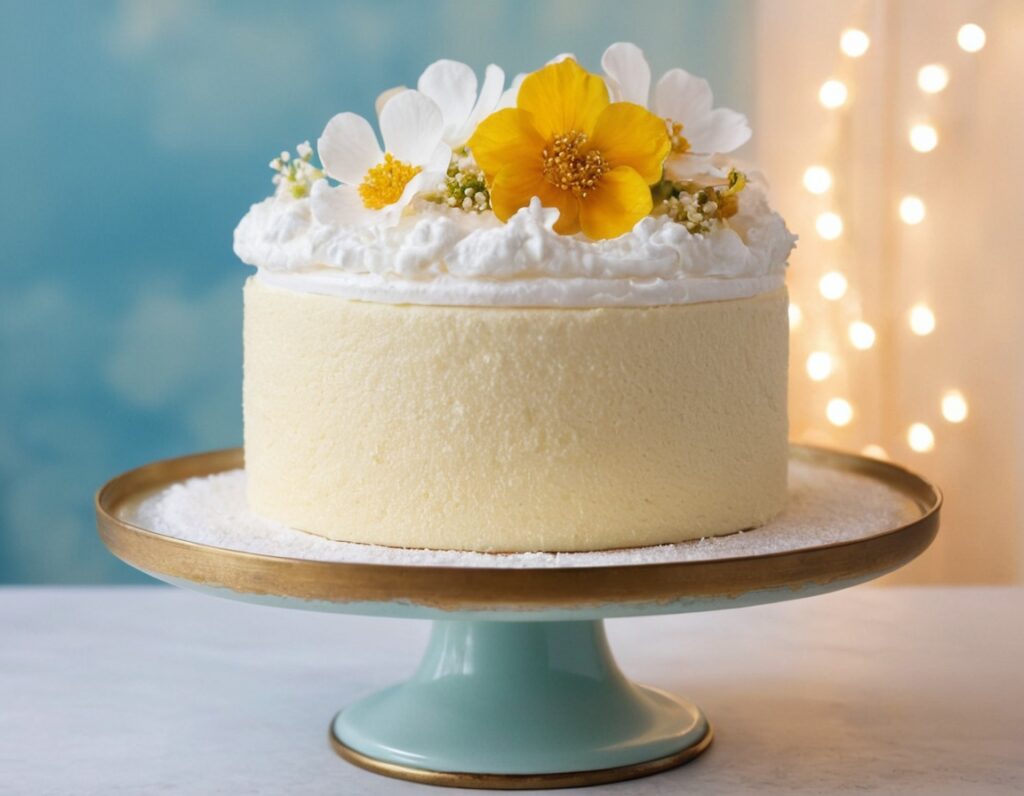
- Fresh berries or edible flowers (optional): For garnish and a burst of freshness.
All of these ingredients are readily available in most grocery stores, and many may already be in your kitchen pantry. The simplicity of the ingredient list is one of the cloud cake’s charms—it doesn’t require fancy flavorings or elaborate techniques to shine.
Tools
- Electric hand mixer or stand mixer: Essential for whipping egg whites and cream to the right consistency.
- Mixing bowls: Preferably stainless steel or glass for optimal egg white whipping.
- Rubber spatula: Crucial for gently folding in flour without deflating the mixture.
- Sifter or fine mesh sieve: For evenly distributing flour into the batter.
- 8-inch round cake pan: Lined with parchment but ungreased to help the cake “climb” the pan.
- Wire rack: For cooling the cake evenly.
Optional tools include an offset spatula for spreading whipped cream and a piping bag for decorative touches. With these tools and ingredients on hand, you’re well on your way to making a show-stopping cloud cake that looks bakery-worthy but tastes homemade.
How to Make Cloud Cake (Include Full Measurements)
Making a cloud cake may sound intimidating at first, but with the right techniques and ingredients, it’s completely achievable even for beginner bakers. The magic lies in gentle mixing, proper whipping, and precise baking. Follow these detailed steps to create a perfectly airy and soft cloud cake.
Ingredients Recap (Full Measurements)
For the cake:
- 5 large egg whites (room temperature)
- ½ cup granulated sugar
- ¼ teaspoon cream of tartar
- 1 teaspoon pure vanilla extract
- ⅓ cup all-purpose flour
- ¼ teaspoon salt
For the whipped topping:
- 1 cup heavy whipping cream (cold)
- 2 tablespoons powdered sugar
- ½ teaspoon vanilla extract (optional)
Optional garnishes:
- Fresh strawberries, blueberries, or raspberries
- Edible flowers or citrus zest
Step-by-Step Instructions
1. Preheat and Prepare the Pan
Preheat your oven to 325°F (163°C). Line the bottom of an 8-inch round cake pan with parchment paper. Do not grease the sides—this allows the batter to cling to the pan and rise properly.
2. Whip the Egg Whites
In a clean, dry mixing bowl, add the 5 egg whites and beat them on medium speed until they become foamy. Add the cream of tartar and increase the speed to medium-high. Slowly sprinkle in the granulated sugar while continuing to beat. The egg whites should form stiff, glossy peaks after about 3–5 minutes.
3. Add Vanilla
Once stiff peaks are achieved, gently mix in the vanilla extract. Be careful not to over-whip at this stage, as that can cause the whites to break down.
4. Sift and Fold in the Dry Ingredients
In a separate bowl, sift together the all-purpose flour and salt. Using a fine mesh sieve, sift the dry mixture directly into the whipped egg whites in three batches. After each addition, gently fold with a rubber spatula, taking care not to deflate the meringue. The folding motion should be light and slow.
5. Bake the Cake
Pour the batter into the prepared cake pan and smooth the top gently. Bake for 25 to 30 minutes, or until the top is lightly golden and a toothpick inserted into the center comes out clean.
6. Cool Upside Down
Remove the cake from the oven and immediately invert the pan onto a cooling rack. Let the cake cool completely upside down in the pan. This prevents the cake from collapsing and helps maintain its structure.
7. Make the Whipped Cream
In a clean mixing bowl, beat the heavy whipping cream with the powdered sugar and vanilla (if using) until soft peaks form. Chill until ready to use.
8. Assemble
Once the cake is fully cooled, run a knife around the edges to release it. Flip the cake onto a serving plate. Spread the whipped cream generously over the top and sides. Add your garnishes—berries, zest, or flowers.
Serve immediately or chill until ready to present. The result is a cloud-like cake with delicate flavor and an unforgettable texture.

Serving and Storage Tips
Cloud cake is not just about light texture—presentation and freshness are equally important to make this dessert shine. Because this cake is made with whipped egg whites and topped with fresh cream, it’s best served fresh and handled gently. Here’s how to serve and store your cloud cake to maintain its elegance and flavor.
Best Ways to Serve Cloud Cake
Cloud cake is a showstopper on its own, but thoughtful presentation can elevate it even more:
- Serve Chilled or Lightly Cooled: While the cake can be enjoyed at room temperature, serving it slightly chilled gives the whipped cream topping the right firmness and enhances the cake’s refreshing appeal.
- Slice Gently with a Serrated Knife: Use a serrated knife to cut clean slices without squishing the cake’s delicate crumb.
- Pair with Fruit: Fresh berries or citrus segments make a wonderful side, adding brightness and a burst of flavor to each bite.
- Light Drizzle Options: A touch of fruit puree or honey drizzled over individual servings adds elegance without overpowering the cake’s gentle flavor.
- Hot Beverage Pairings: This cake goes perfectly with lightly sweetened tea, chamomile, green tea, or a smooth cup of coffee.
How to Store Cloud Cake
Because of its whipped cream topping and airy texture, cloud cake has a limited shelf life. Here’s how to keep it fresh:
- Short-Term Storage (1–2 Days): Place the fully assembled cake in an airtight cake container or a loosely covered dome in the refrigerator. Avoid plastic wrap directly on the cake as it can stick to the whipped cream and damage the surface.
- Storing Components Separately: If you plan to make the cake ahead, bake and cool the sponge, then wrap it tightly in plastic wrap and refrigerate for up to 2 days. Make the whipped cream and assemble just before serving for the best texture.
- Freezing Option: It’s not ideal to freeze a fully frosted cloud cake. However, the sponge layer (without cream) can be frozen. Wrap tightly in plastic wrap and then foil, and freeze for up to 1 month. Thaw overnight in the refrigerator before topping.
Transport Tips
If you’re taking your cloud cake to a party or event, store it in a box with a non-slip mat underneath. For longer trips, consider assembling it at your destination to avoid smudging or melting.
By following these storage and serving guidelines, you’ll ensure your cloud cake remains as soft, elegant, and fresh as it was the moment you made it.
Mistakes to Avoid
Making a cloud cake is all about mastering a few key techniques. While the ingredient list is short and the steps are relatively simple, there are several common pitfalls that can affect your final result. To help ensure success, here are the most frequent mistakes people make when baking a cloud cake—and how you can avoid them.
1. Over- or Under-Whipping the Egg Whites
This is the single most important step in creating the signature lightness of a cloud cake. If you under-whip your egg whites, the cake won’t rise properly and will turn out flat and dense. If you over-whip them, the mixture becomes dry and grainy, making it difficult to incorporate other ingredients without deflating the air.
Tip: Whip your egg whites until stiff peaks form—they should hold their shape but still look glossy and moist. Keep checking frequently once soft peaks form, and stop immediately when the tip of the peak stands upright without drooping.
2. Deflating the Batter While Folding
Once your egg whites are perfectly whipped, they need to be folded with care. Over-mixing or using a heavy hand will cause the airy structure to collapse, leaving you with a heavy cake that doesn’t live up to the “cloud” name.
Tip: Use a wide rubber spatula and a gentle folding motion. Cut through the center of the mixture, lift and turn, rotating the bowl as you go. Fold only until the flour is just incorporated.
3. Using a Greased Pan
Unlike other cake types, cloud cake batter needs to cling to the sides of the pan in order to rise correctly. Greasing the pan prevents the batter from climbing and results in a shorter, denser cake.
Tip: Line only the bottom of your cake pan with parchment paper. Do not grease the sides. This allows the cake to “grip” the pan walls as it bakes and expands.
4. Not Cooling the Cake Upside Down
Because cloud cake is so light, it’s prone to collapsing if not cooled properly. Turning the cake upside down while cooling helps maintain its height and shape.
Tip: Invert the cake pan immediately after removing it from the oven. Let it rest upside down on a wire rack until completely cool. Only then should you remove it from the pan.
5. Skipping the Sift
Sifting may seem unnecessary, but in a cloud cake, it’s essential. It ensures that your flour and salt are evenly distributed and prevents clumps, which can lead to uneven baking.
Tip: Always sift your dry ingredients before folding them into the meringue. It’s a small step that makes a big difference.
By being aware of these common mistakes and knowing how to prevent them, you’ll be one step closer to achieving a picture-perfect cloud cake that’s as light and fluffy as it’s meant to be.
Tips and Tricks
Cloud cake might look delicate and bakery-worthy, but it’s surprisingly simple once you understand the process. These practical tips and tricks will help you perfect your technique, save time, and add creativity to your baking experience. Whether this is your first time making cloud cake or you’re a seasoned home baker, these insights will elevate your results.
1. Use Room Temperature Egg Whites
Egg whites whip better and faster at room temperature, creating a more stable meringue with greater volume.
Tip: To bring eggs to room temp quickly, place them in a bowl of warm (not hot) water for 5–10 minutes before separating.
2. Separate Eggs Carefully
Even a tiny amount of yolk in your whites can prevent them from whipping properly.
Tip: Crack each egg into a small bowl first before adding it to the mixing bowl. This way, if any yolk gets in, it won’t ruin the whole batch.
3. Chill Your Whipping Cream and Bowl
For the whipped topping, cold cream and a cold mixing bowl whip faster and hold their shape better.
Tip: Pop your metal or glass mixing bowl and beaters into the freezer for 10 minutes before whipping the cream.
4. Make It Gluten-Free or Flavored
Cloud cake is easy to adapt for special diets or flavor preferences.
Gluten-Free Tip: Substitute the all-purpose flour with a gluten-free flour blend—just make sure it’s one intended for baking.
Flavor Tip: Add citrus zest (lemon, orange) to the batter or mix in a dash of almond extract or matcha powder for creative variations.
5. Decorate Simply
Let the cake’s texture speak for itself. Avoid heavy frostings or elaborate layers.
Tip: Use whipped cream and fresh berries, thin citrus slices, or a light dusting of powdered sugar. A drizzle of honey or a fruit compote also works beautifully.
6. Don’t Rush the Cooling Process
It may be tempting to unmold and frost the cake right away, but rushing it can lead to a collapsed or soggy texture.
Tip: Always let the cake cool completely in the inverted pan before touching it. Then chill it further before applying whipped topping for the cleanest finish.
7. Practice Patience
Cloud cake rewards careful handling and attention to detail. Take your time with each step—rushing through will compromise texture and appearance.
By following these tips and tricks, your cloud cake will turn out not only light and fluffy, but also impressively elegant. The best part? The more you practice, the easier and more intuitive the process becomes.
Suggestions
Once you’ve mastered the basic cloud cake, it opens up a world of flavor and presentation opportunities. The beauty of this dessert lies in its versatility—you can customize it to fit different seasons, holidays, or personal taste preferences without compromising its signature light and airy texture. Below are creative and practical suggestions to help you expand the cloud cake experience.
1. Flavor Variations
The classic vanilla-based cloud cake is delicious on its own, but there’s so much more you can do to experiment with flavors while still keeping the structure intact.
- Lemon Cloud Cake: Add 1 tablespoon of finely grated lemon zest to the batter and a few drops of lemon extract for a fresh, citrusy twist.
- Chocolate Swirl: Gently fold in 2 tablespoons of sifted cocoa powder into one-third of the batter, then swirl it into the rest before baking.
- Berry Infusion: Add freeze-dried berry powder (like strawberry or raspberry) for a subtle fruity flavor and a hint of color.
2. Whipped Cream Mix-Ins
Your whipped topping can be as creative as the cake itself. Instead of just vanilla and sugar, try these mix-ins for something unique:
- Matcha Powder: Add 1 teaspoon for a light green tea flavor.
- Citrus Zest: Lemon or orange zest adds brightness and pairs well with berries.
- Natural Extracts: Try almond, coconut, or rose water (just a drop or two) for floral and nutty undertones.
3. Toppings and Garnishes
The right topping turns your cloud cake into a masterpiece. Here are some ideas:
- Fresh Fruit: Sliced strawberries, kiwi, blueberries, or mango add color and freshness.
- Edible Flowers: Pansies, violets, and marigold petals make stunning, all-natural decorations.
- Fruit Glaze: A thin drizzle of fruit puree or a non-alcoholic glaze (like a honey-orange reduction) enhances both taste and appearance.
- Toasted Coconut or Slivered Almonds: Add crunch without overwhelming the soft cake.
4. Layered Cloud Cake
Want to make your dessert more impressive for a special occasion? Try baking two thinner cakes and layering them with fruit and cream in between. This turns your simple cloud cake into a celebration-worthy centerpiece.
Pro Tip: If layering, chill each component thoroughly before assembly to maintain clean layers and firm texture.
5. Holiday Themes
Adapt your cloud cake to the season:
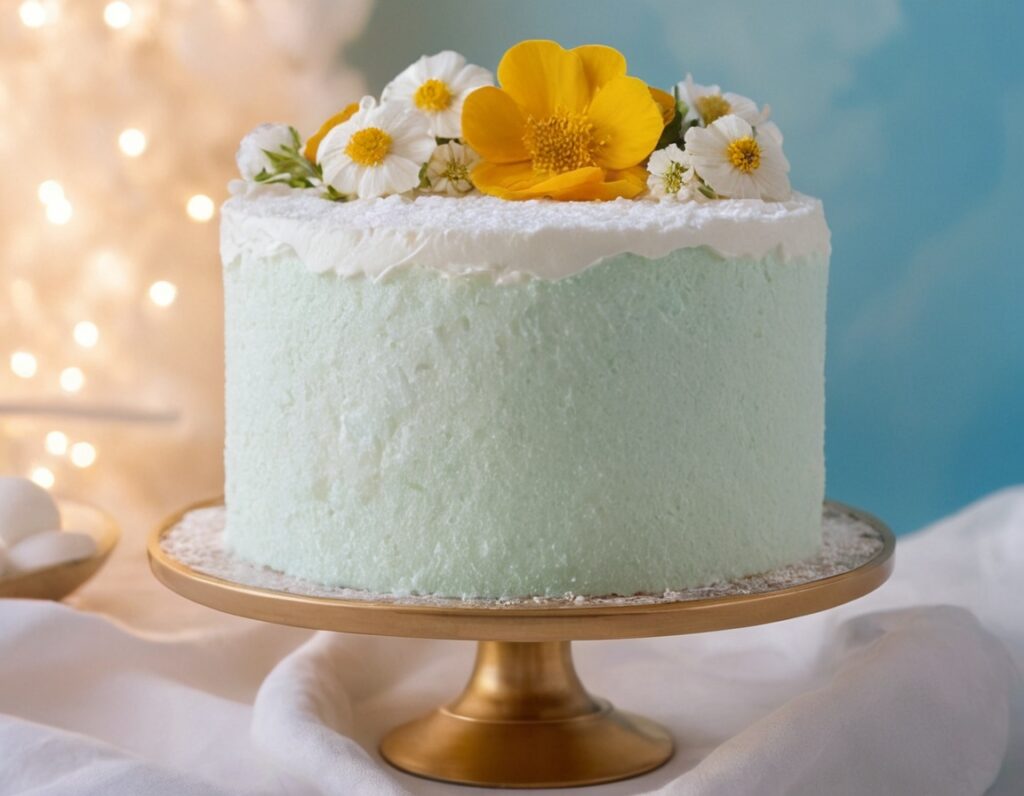
- Spring: Decorate with pastel-colored whipped cream and edible flowers.
- Summer: Use fresh berries and a light citrus glaze.
- Fall: Add cinnamon to the batter and top with apple compote.
- Winter: Sprinkle powdered sugar “snow” and decorate with sugared cranberries.
6. Mini Cloud Cakes or Cupcakes
Use a muffin tin or mini cake pans to create individual portions. These are perfect for parties, baby showers, or elegant afternoon teas.
Cloud cake is more than a dessert—it’s a canvas. Whether you’re celebrating a holiday, hosting friends, or treating yourself to something light and elegant, the cloud cake can be tailored to suit any occasion.
FAQ
Even though cloud cake is relatively simple, many first-time bakers have questions about getting it just right. Below are some of the most frequently asked questions—along with clear, helpful answers—to ensure you get perfect results every time.
1. Can I use a boxed cake mix for cloud cake?
No. Cloud cake relies on whipped egg whites and minimal flour to achieve its light texture. Boxed cake mixes contain leavening agents and fats that create a denser crumb, which is the opposite of what a true cloud cake aims for.
2. What’s the best pan to use for cloud cake?
An 8-inch round cake pan works best. Avoid using nonstick pans as the batter needs to cling to the sides to rise properly. If you’re doubling the recipe, opt for a tube pan (like the kind used for angel food cake) for even support.
3. Why did my cloud cake collapse after baking?
There are a few common causes:
- Overmixed or undermixed batter
- Egg whites not beaten to stiff peaks
- Cake cooled too quickly or not inverted while cooling
Make sure you invert the cake immediately after baking and let it cool completely before removing from the pan.
4. Can I make cloud cake ahead of time?
Yes, but it’s best enjoyed within 24 hours of assembling. You can bake the cake in advance and refrigerate it, then add the whipped cream and garnishes just before serving. Avoid adding whipped cream too early as it can weep or lose volume over time.
5. Is cloud cake gluten-free?
The standard recipe uses all-purpose flour, but it can be made gluten-free by substituting with a 1:1 gluten-free baking flour. Avoid nut flours or oat flours, which are heavier and won’t produce the same light texture.
6. Can I add food coloring?
Absolutely! A few drops of gel food coloring can be added to the whipped egg whites or the whipped topping for a decorative effect. Be gentle when mixing to preserve the airiness.
7. How do I know when the cake is done baking?
The top should be lightly golden and spring back when touched. A toothpick inserted in the center should come out clean. Overbaking can dry out the cake, so keep an eye on it during the last few minutes.
8. Can I freeze cloud cake?
Only the sponge layer can be frozen—wrap it tightly in plastic wrap and foil. Thaw it in the refrigerator overnight before topping. Whipped cream does not freeze well and should be made fresh.
These FAQs cover the most important questions, but feel free to experiment and adjust the recipe to suit your preferences. Cloud cake is forgiving as long as you respect its delicate structure and avoid shortcuts.
Conclusion
Cloud cake is a dessert that truly lives up to its name. Airy, delicate, and irresistibly light, it floats between indulgence and elegance with a unique charm that stands out from traditional cakes. Whether you’re an experienced baker or someone just stepping into the world of homemade desserts, the cloud cake invites you to slow down, whisk a little longer, and embrace the beauty of simplicity.
One of the most compelling aspects of this recipe is its versatility. From birthday parties and baby showers to casual Sunday brunches and intimate dinners, this cake fits seamlessly into almost any setting. With just a few humble ingredients—eggs, sugar, flour, and cream—you’re able to create a showstopper that delivers in both presentation and taste. It’s not a recipe that relies on heavy frostings or elaborate decorations. Instead, it celebrates airiness, restraint, and natural flavor.
Throughout this blog, we’ve walked through each stage of preparing your cloud cake, from what ingredients to use and how to master the method, to how best to serve, store, and even personalize it. Every section was designed to empower you with the knowledge to avoid common pitfalls and experiment with confidence. Whether you’re interested in making a gluten-free version, exploring seasonal twists, or simply looking for a lighter dessert that won’t leave you feeling overly full, the cloud cake checks all the boxes.
We also discussed ways to creatively expand your cloud cake repertoire with flavor infusions, fruit toppings, and alternative presentations like layered cakes and cupcakes. These ideas help you get the most out of a simple base recipe, making it endlessly customizable and exciting every time you return to it. And with the frequently asked questions addressed, you’re now better equipped to troubleshoot issues and refine your baking technique.
The cloud cake is a delightful reminder that sometimes, less really is more. With thoughtful preparation and a touch of creativity, you can turn a handful of pantry staples into a dessert that feels indulgent without being overwhelming. It’s ideal for those who appreciate subtlety in sweetness, elegance in texture, and the joy of a dessert that never feels too heavy.
So go ahead—preheat that oven, separate those eggs, and get whisking. A slice of cloud cake is waiting to float its way onto your plate, and it’s bound to impress anyone lucky enough to share it with you. Whether served with a cup of tea or the centerpiece at a celebration, cloud cake is the kind of dessert that turns an ordinary moment into something truly special.